
Settings
User settings
Roles, inviting teammates, and managing everyone on your account.
Updated 2026-09-03
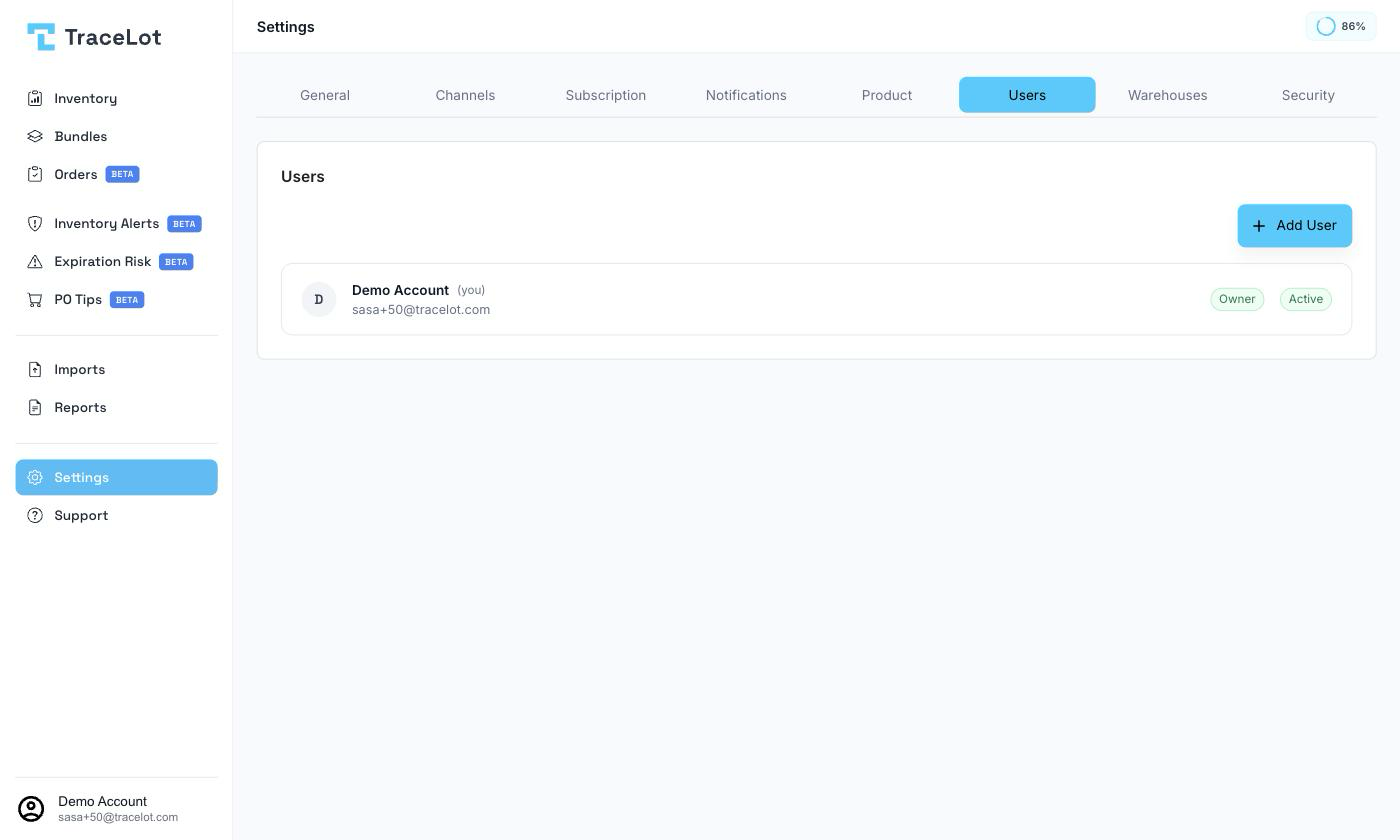
The Users tab lists everyone with access to your account — active users and pending invites — and lets an owner add, remove, and manage them. The tab itself is visible to owner and admin users; the add/manage actions on it are restricted further to the owner.
Roles
- Owner — the account's original creator. Only the owner can add users, remove users, resend or revoke invites, change another user's role, reset a user's password or MFA, and see pending invites.
- Admin — sees the full set of admin-only Settings tabs (General, Channels, Subscription, Notifications, Product, Users, Warehouses) but, on the Users tab, can't add, remove, or manage other users.
- User — sees only Profile and Security in Settings; the rest of the admin tabs, including Users, aren't shown to them.
A role badge (Owner, Admin, or User) appears on each row, color-coded, along with an Active or Invited status badge and, for the owner's view, a 2FA badge when that user has two-factor authentication enabled.
Adding a user
As the owner, click Add User to open the Add User dialog. Choose a Role of Admin or User.
- Choosing Admin always sends an email invite — enter the invitee's email address and click Send Invite.
- Choosing User shows a User has an email address toggle. Leave it on to send an email invite the same way.
- Turn it off to create a local user instead — one signed in with a username and password rather than email. Fill in First Name, Last Name, a Username (at least 3 characters, lowercase letters/numbers/dots/hyphens/underscores only), and a Password (at least 8 characters), then click Create User.
Note
A local user signs in with the Account ID (from Settings → General), their username, and password — share all three with them, since they have no email invite to fall back on.
The invite email
An email invite sends the recipient a link. Opening it walks them through:
- Tracelot looks up the invite by its token and shows which account they're joining, then automatically sends a one-time code to the invited email address.
- The invitee enters the code to verify their email.
- If they don't already have a name on file, they're asked for their first and last name.
- Tracelot then accepts the invite on their behalf and takes them straight to the dashboard.
An invite that's expired or already used shows an Invalid Invite screen with a link back to the login page instead.
Managing existing users
As the owner, click the ⋮ menu on any row other than your own or the owner's to:
- Change role — active users with an email only. Opens a dialog to pick Admin or User.
- Resend invite — pending invites only. Revokes the existing invite link and sends a new one to the same email.
- Reset password — local (no-email) users only. Sets a new password directly; share it with the user.
- Reset MFA — any active user. Clears their two-factor setup; they'll need to set it up again next time they need it.
- Remove user / Revoke invite — removes an active user's access permanently, or revokes a pending invite link so it can no longer be used. Both require confirmation and can't be undone.
Related
Security settings · Creating your account · General settings