
Orders
Pick jobs
Group allocated orders into a single pick list, work it, and print it.
Updated 2026-09-03
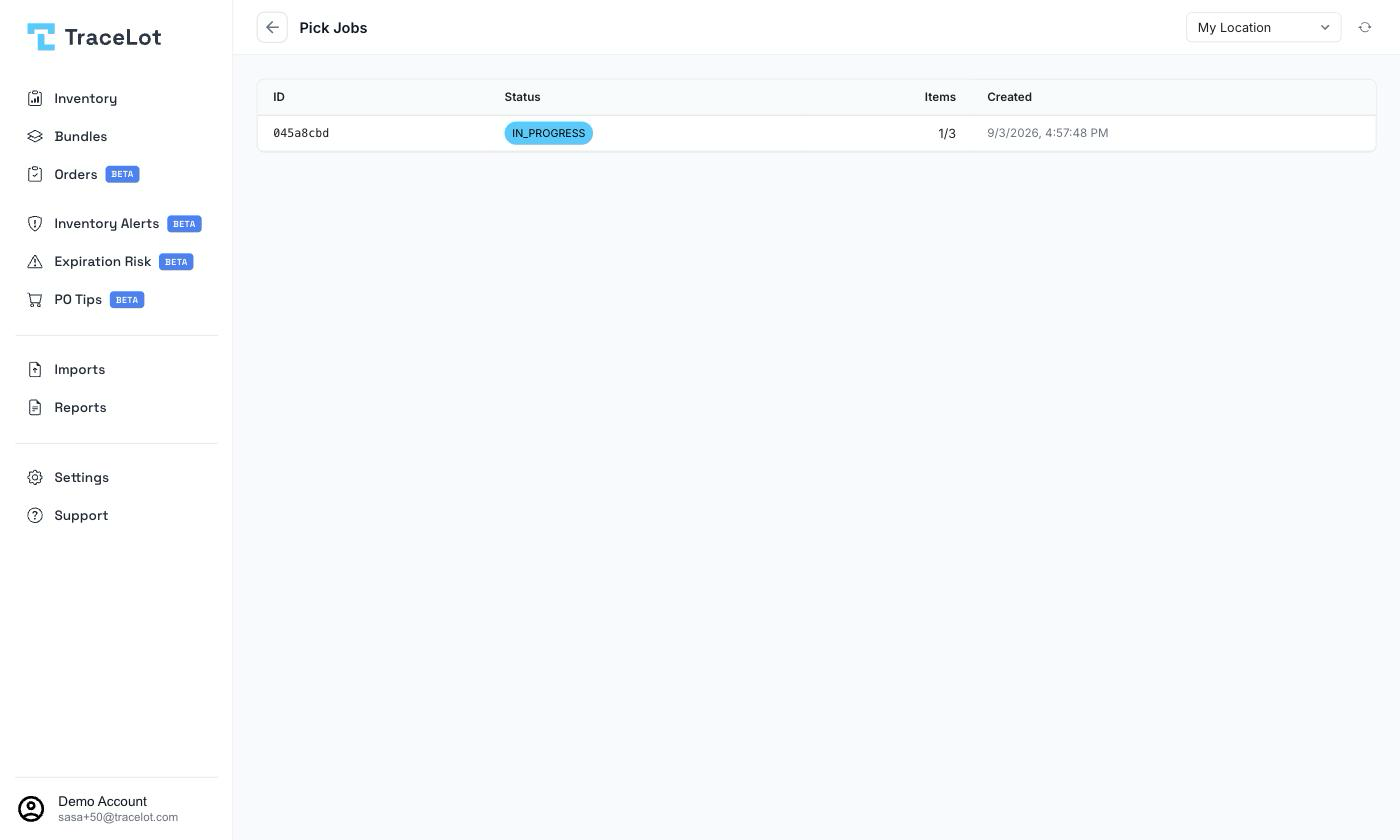
A pick job groups the line items from one or more allocated orders into a single list, organized by location, so someone walking the warehouse can pick everything in one pass instead of order by order. Pick jobs are scoped to one warehouse.
Creating a pick job
On the Orders page toolbar, click the Pick List button's dropdown arrow to open its menu:
- Create from Selected Orders — opens a dialog listing pickable (allocated or partial) orders for the current warehouse with checkboxes; select the ones you want and click Create Pick List (N).
- Create from All Allocated — creates a pick job from every allocated order in the current warehouse without a selection step.
- View Pick Jobs — goes straight to the Pick Jobs list.
Note
Both create options are disabled — with a "single warehouse only" note — unless the Orders page's warehouse filter is narrowed to exactly one warehouse.
Creating a pick job navigates you straight to its detail page.
Working a pick job
A pick job's detail page lists its items in a table: Location, Batch, Product, SKU, Expiry, Qty, and an Action column. Click Pick on a row to mark that item picked — its row turns green and shows a check mark instead of the button. The header shows the job's status chip (PENDING, IN_PROGRESS, COMPLETED, or CANCELLED) and a running count of items picked.
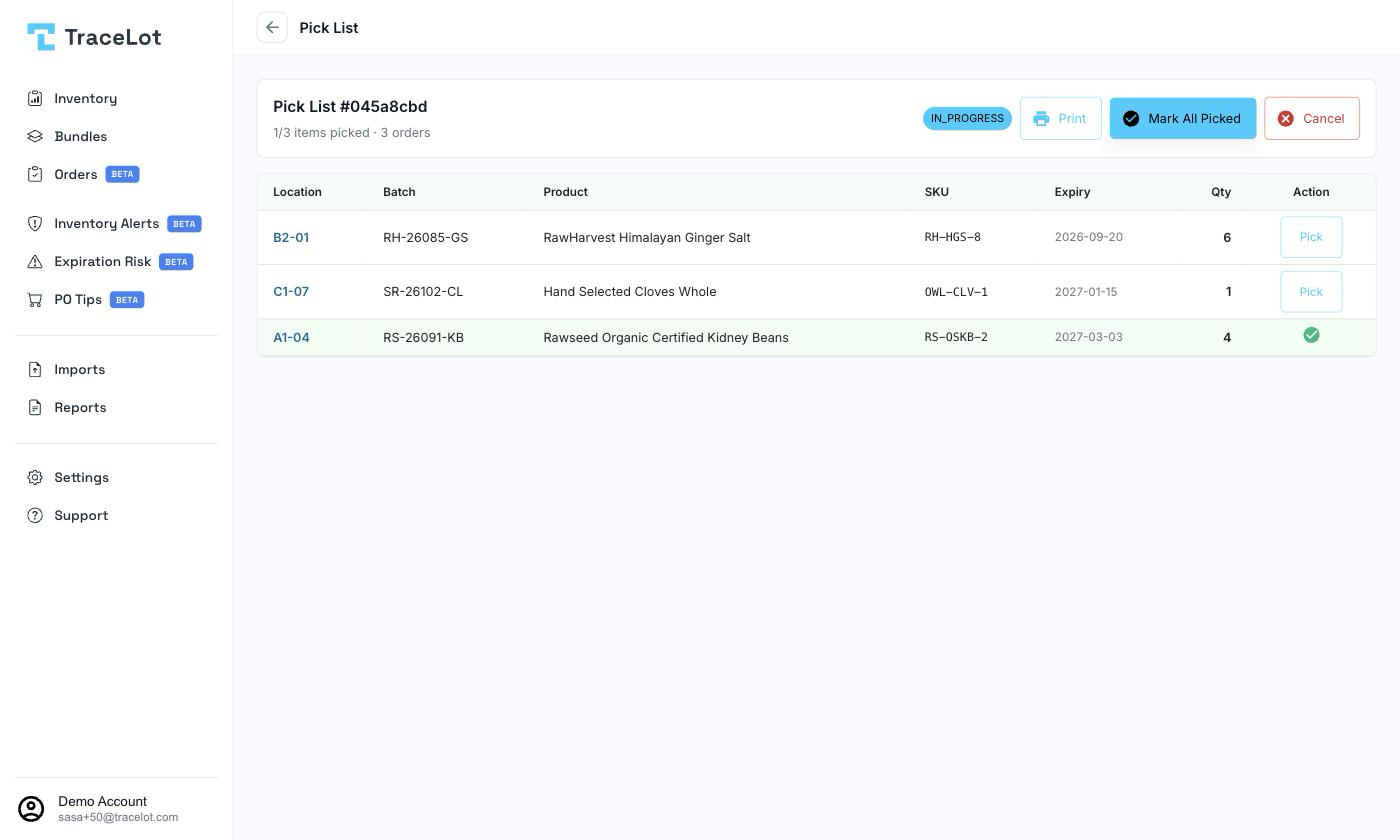
While the job is open (not completed or cancelled) you also have:
- Print — opens the print view in a new tab (see below).
- Mark All Picked — behind a confirmation, marks every item in the job picked at once and completes it.
- Cancel — behind a confirmation, cancels the job and reverts every linked order to its prior status (Allocated or Partial). This can't be undone.
Printing
Print opens a print-ready version of the pick list in a new tab — a standalone page with no dashboard chrome, styled for a physical sheet. It shows your company logo, the pick list ID, a meta grid (created date, order count, SKU count, total units), and an items table with a checkbox column, Location, Batch, Product, SKU, Expiry, and Qty. The browser's print dialog opens automatically about half a second after the page loads.
Completing
A pick job completes either when you click Mark All Picked or when the last individual item is picked one-by-one — both mark every linked order as picked, moving them from the Allocated tab to the Picked tab on the Orders page.
Related
The Orders page · Marking picked and shipped · Packing slips